
Some people in this life are complete and total DIY (Do It Yourself) champs.
They look, they see, they grab the necessary supplies and they CONQUER!
People like my husband, for example. He can do everything.
One little Youtube tutorial and they absolutely crush it!
But did you ever run across someone that really WANTED to be a DIY (Do It Yourself) person?? Like, they tried hard and everything. They wanted to save money and time and just do it themselves.
They had gumption. They had good intentions. They had a spirit of optimism.
And yet, for all intents and purposes, they really should have just left the job to someone else?
Well… a big hi and hello from someone who’s just discovered how well she fits that description.
I Had Big Plans
See, I had it all figured out. Derek isn’t quite finished with the indoor projects I shared the beginnings of last week. (Tune in next week to see the results of those!) So, I was going to take on my first solo DIY project and share my wisdom and talents with you lovely people. You were all going to be flabbergasted at my natural fixer upper skills and ask me to share all my secrets. I would gladly impart all helpful tips and go to sleep feeling like I changed the world.
I’d like to say that what actually transpired was something I did on purpose so I could flip the script and show you “what not to do.” I’d like to say it was my creative juices flowing and I wanted to give you a different take.
But to be totally honest, Friday nearly made me cry tears of humiliation, failure and frustration. I called my husband and confessed that I was that DIY human that everyone wishes would simply bite the bullet and hire someone. I told him I destroyed the front of our house and he should know that before he came home. Of course, he offered me grace and told me it wasn’t the end of the world. I remain unconvinced.
But maybe it would be more accurate to say that God has a way of humbling us all. And therefore, this blog, my dear readers, will still be a DIY blog. Yes, indeed. Let me share all my “Destroy It Yourself” secrets.
Ready? Great.
Where I Went Wrong
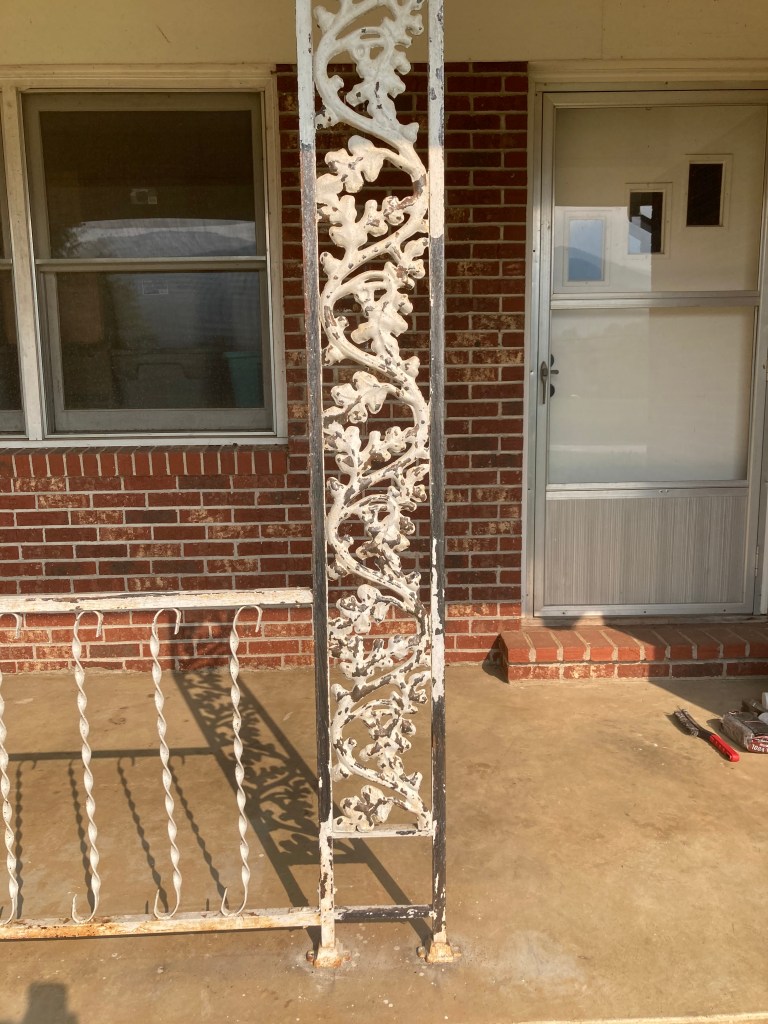
So, my project was to repaint the rusty, peeling wrought iron on the front of our new home. Personally, I despise wrought iron, but we won’t get around to switching it out for cedar beams until next year and I simply refuse to live with all that ugly on the front of my house for even a week. I thought, I can do this! (Part of me thinks my husband knows me better than I know myself and only said yes because he knew he’d be replacing it next year anyway, but I digress.)
And you should know, when you “destroy it yourself” you might start off feeling as if you’re doing everything right. Y’all… I did a very brief but efficient google search. I followed– most of what they said. I took my DIY husband to help me get supplies. I asked a friend to come help me scrape off the old paint. I gave it a quick brush off when I was done. I laid out drop cloths. I came dressed in paint clothes, totally prepared to get messy.
I scraped. 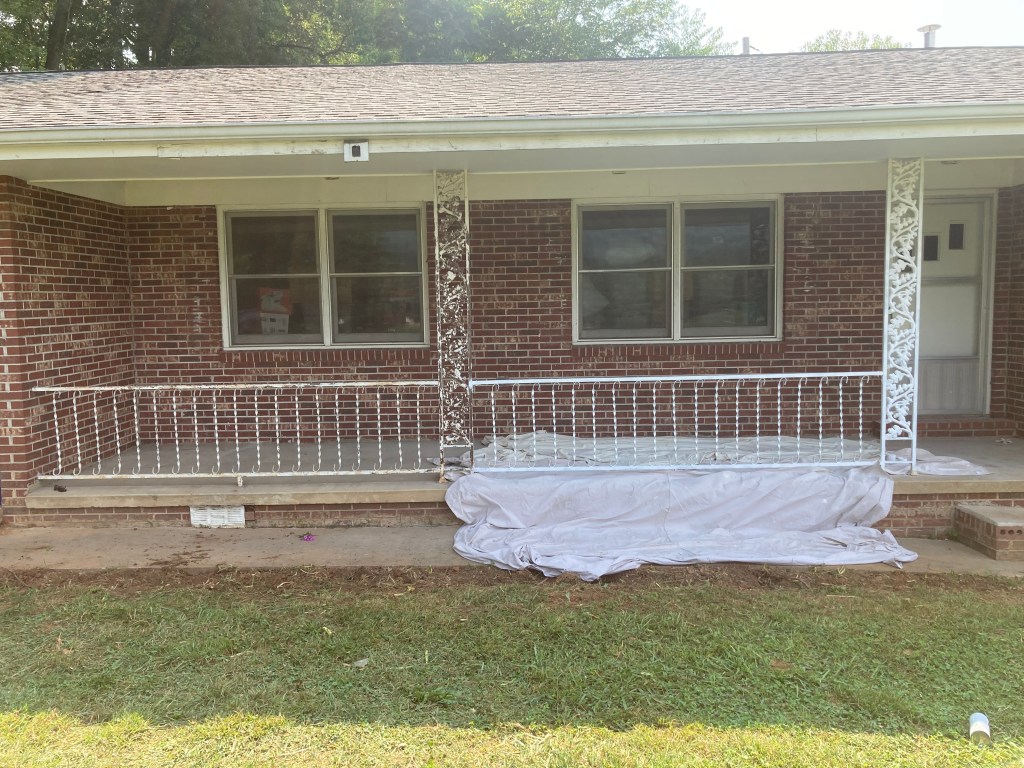
I used drop cloths.. 
I got dirty.
But see, these steps can mean everything… or they can mean nothing.
Another thing you should know is that a person’s mentality can majorly sway how well they DIY. While my DIY husband is a perfectionist who completes everything he starts as a life rule… I have that weakness of doing a job halfway. I begin with gusto and quickly lose steam. I’m a big, “well, that’s good enough” kind of person. And that simply doesn’t bode well for DIY projects. Completely finishing every step of the project is super important… and I might have failed big there.
[Side note: It’s not that everyone needs to be a perfectionist, but doing your best is a really big deal. Just the other day I was telling my six year old how important it is that he try hard at everything he does because Colossians 3:23 says: Whatever you do, work heartily, as for the Lord and not for men. It only took about two seconds for me to realize I needed to confess to my son that this is super hard even as a grown up and it’s something Mommy needs to work on as well!]
Anywho, without further ado, I shall now share my mistakes in short and concise detail, so as to save you the pain, sweat, and TEARS of this failed DIY project:
Mistake #1: I figured I could just scrape off most of the big peeling paint pieces and leave everything else because I simply don’t have time for all that. Spray paint is magic in a can and it covers EVERYTHING… right?
Mistake #2: I figured I could cover most of my work area in drop cloths. Overspray couldn’t possibly go that far could it?
Mistake #3: I didn’t have any paint tape to protect the wall and concrete and everything… so I thought I’d just skip that step.
Mistake #4: I didn’t want to wait for the wrought iron to dry so I chose to forgo thoroughly wiping down every surface I had scraped with a wet cloth.
Mistake #5: I thought my hand would easily hold up for three or four hours of perfectly light strokes with the paint can. It did not.
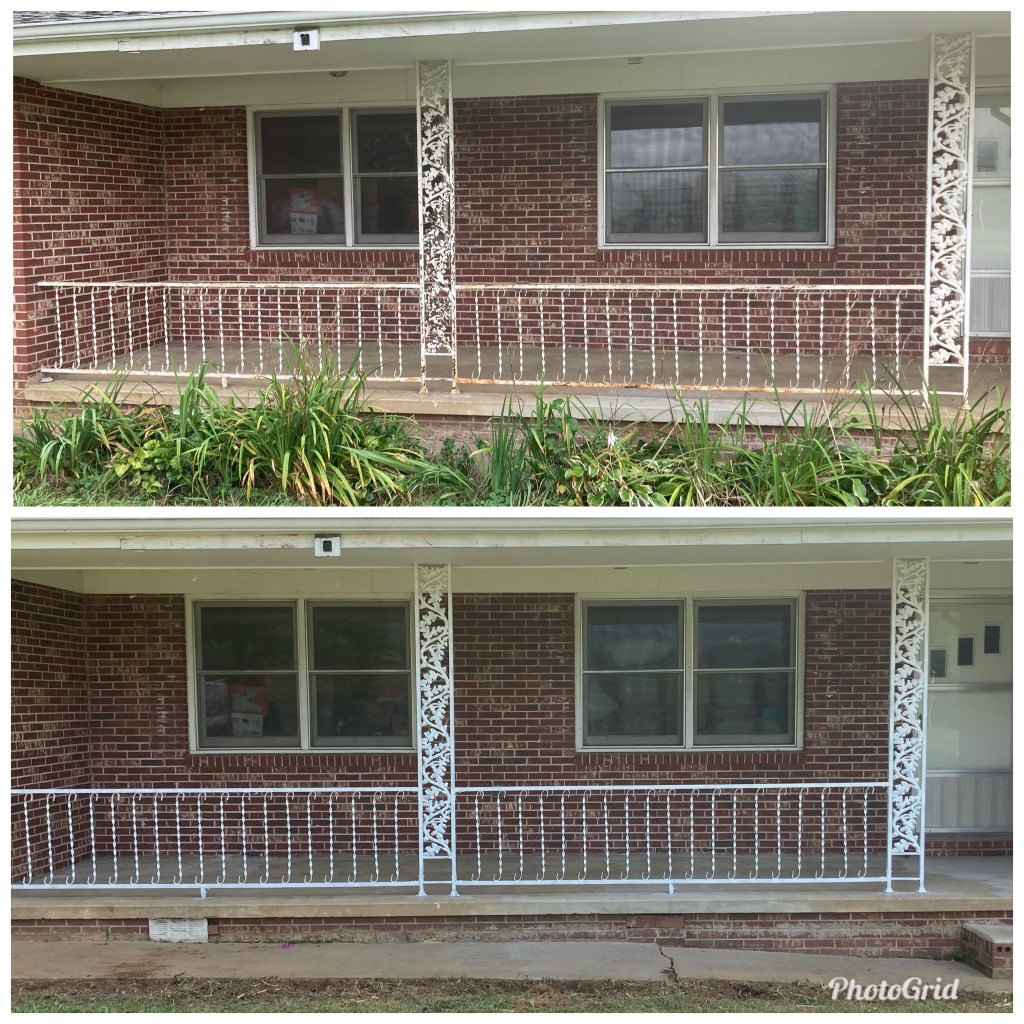
When you make as many mistakes as I did you will end up with pooling, dripping paint and somewhat noticeable overspray where it ought not to be.
And here’s what else you’ll end up with:

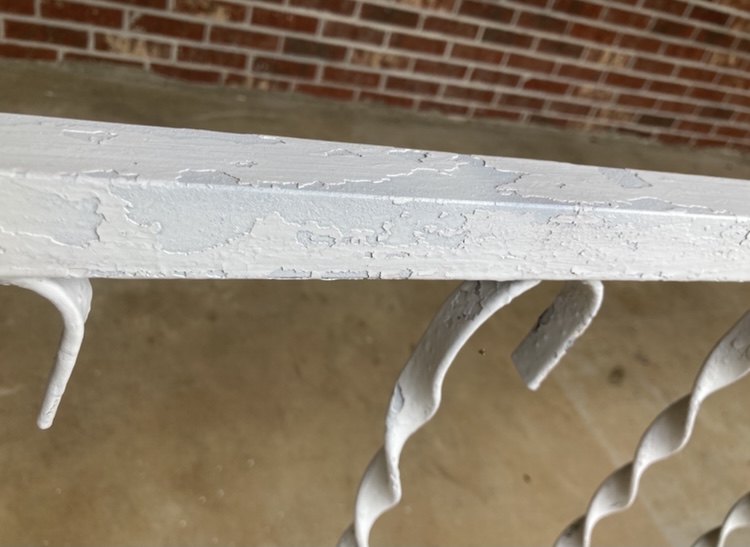
Call it what you will… call it two tone, call it rustic, call it a crazy, ugly mess. I failed terribly, friends. And honestly, that was no ones fault but my own. I didn’t give it my absolute best and it showed.
So, don’t repeat my mistakes, sweet friends. Scrape EVERYTHING, wipe down EVERYTHING, cover EVERYTHING, and ask 15 EXPERIENCED friends to take turns spraying so no one gets so tired that they get hand cramps and pool the paint.
There. You are most welcome. I hope this advice helps carry you through life.
And yet…
It wasn’t a total fail of a week. I may be a work in progress when it comes to DIY projects but… yard work is my JAM! With the help of my amazing sister-in-law, we dug out some majorly overgrown flower beds. I also discovered that my now neglected snow shovels make epic yard work tools! It was invigorating to get out and conquer some real projects after being in the waiting phase for so long.
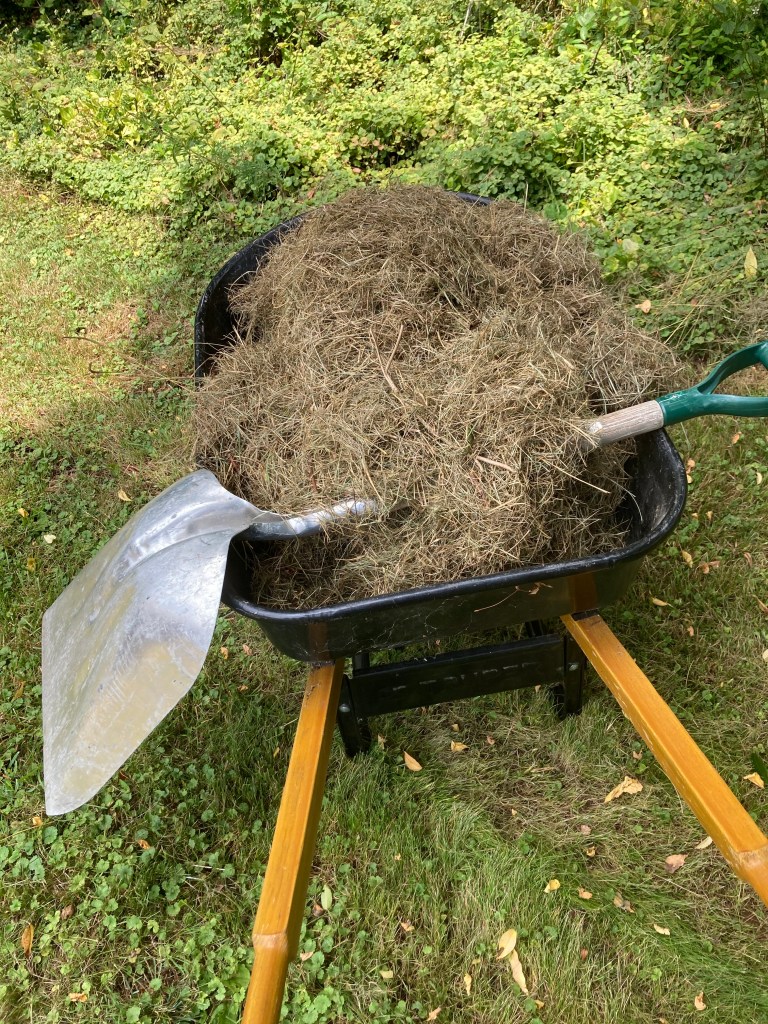
Snow shoveling grass clippings! 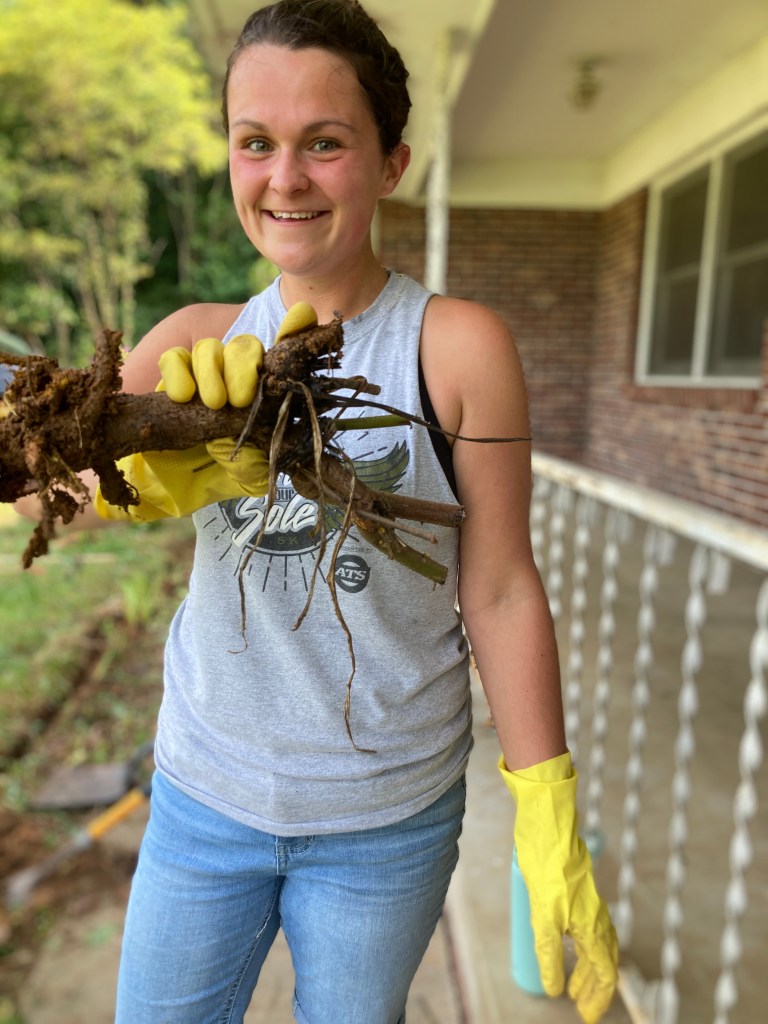
I’m a root conquering warrior! 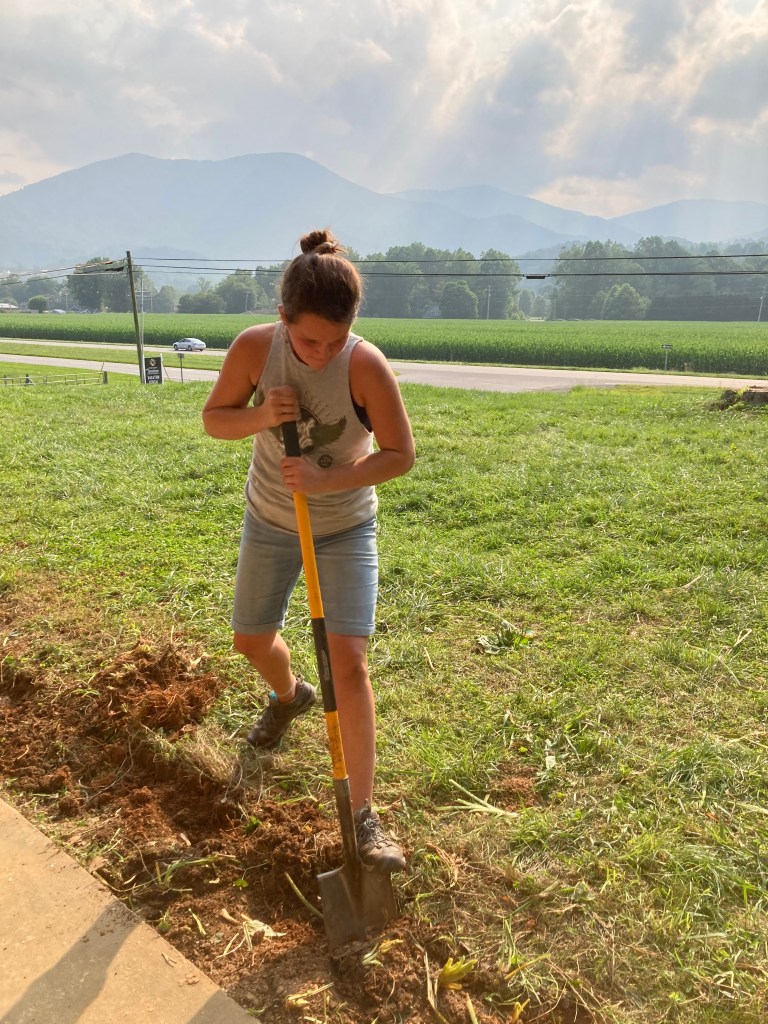
Dig it up, oh, oh, dig it!
Annnnnd, all in all, if you stand about 20 feet back from my rotten wrought iron job, it actually looks kind of nice with the rust gone and the peeling paint disguised. And with the dug out flower beds, we have a nice clean slate compared to what we started with.
So, ya live and ya learn. You can either DIY (Destroy It Yourself) by not giving it 110%. Or you can DIY (Do It Yourself) by giving it ALL you’ve got. Maybe learn from me and forgo the former.
Much love!

At least you tried the house looks great
LikeLike
Awww thanks, Uncle Rick!
LikeLike